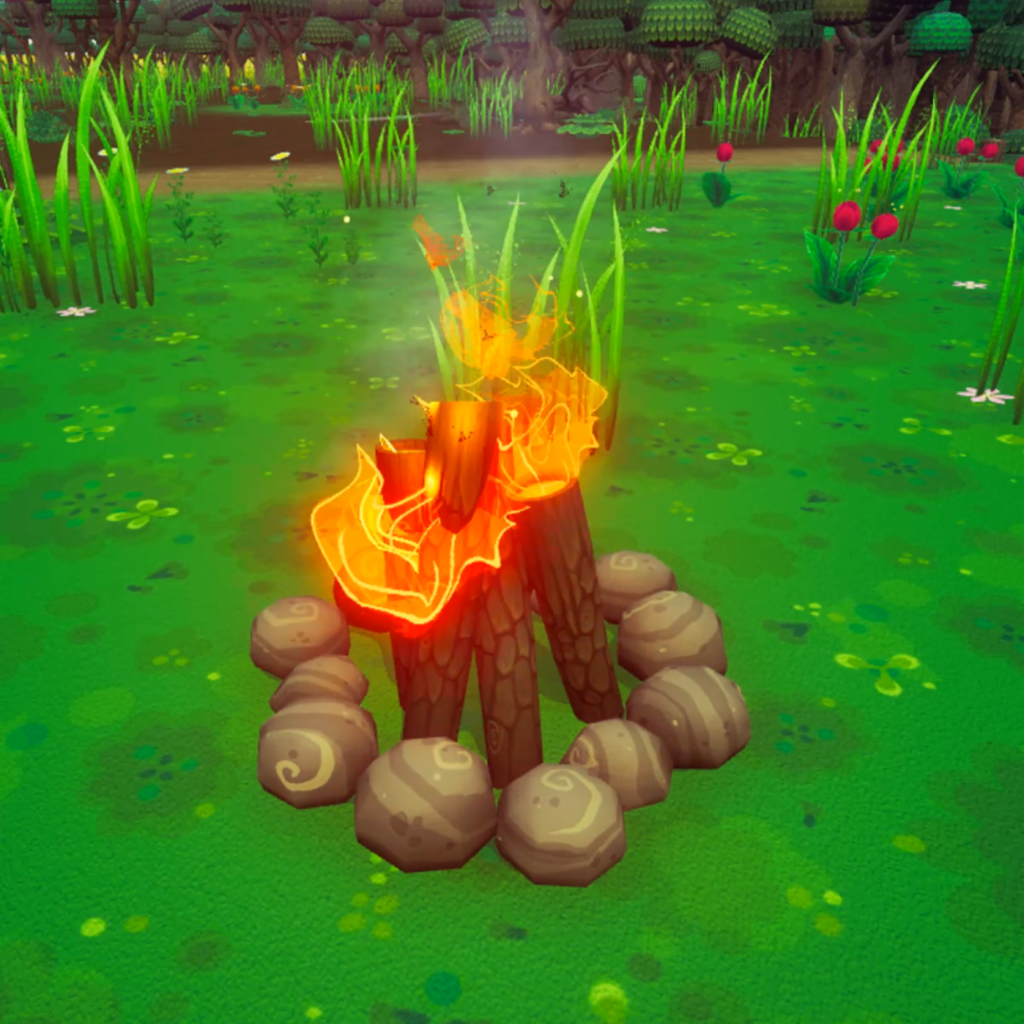
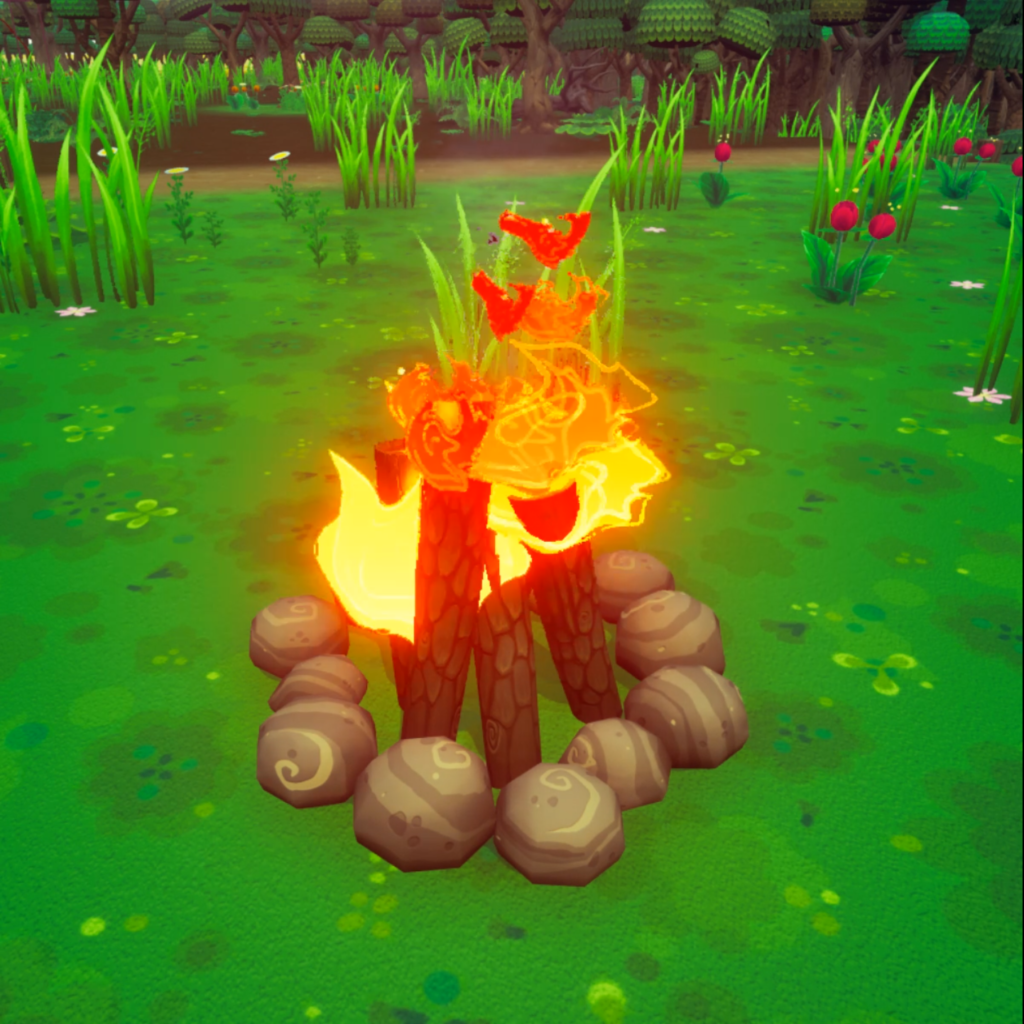
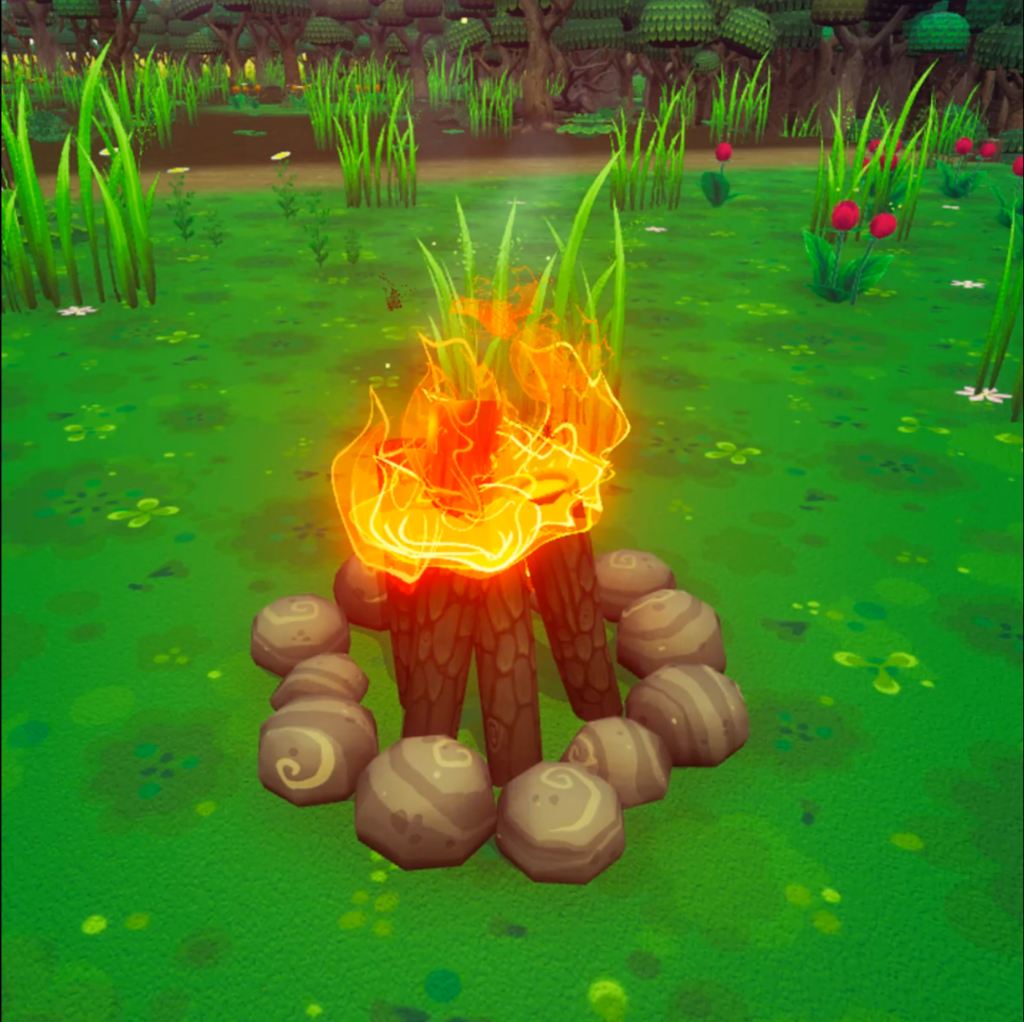
Watching a bonfire – a classic video game scene. Then how can you distinguish your fire from the millions of others? How do you give it a distinct character?
To answer these questions, let me take you on a journey of how our fire came to be – and with it the VFX style for Chonky.
A quick introduction first – My name is Irene, and I am one of the founders of Enhydra Games and the studio’s VFX Artist. Essentially, I create the game’s ‘glitter’.
I can also safely set (virtual) things on fire. Wonderful, isn’t it?

So – why start with the bonfire?
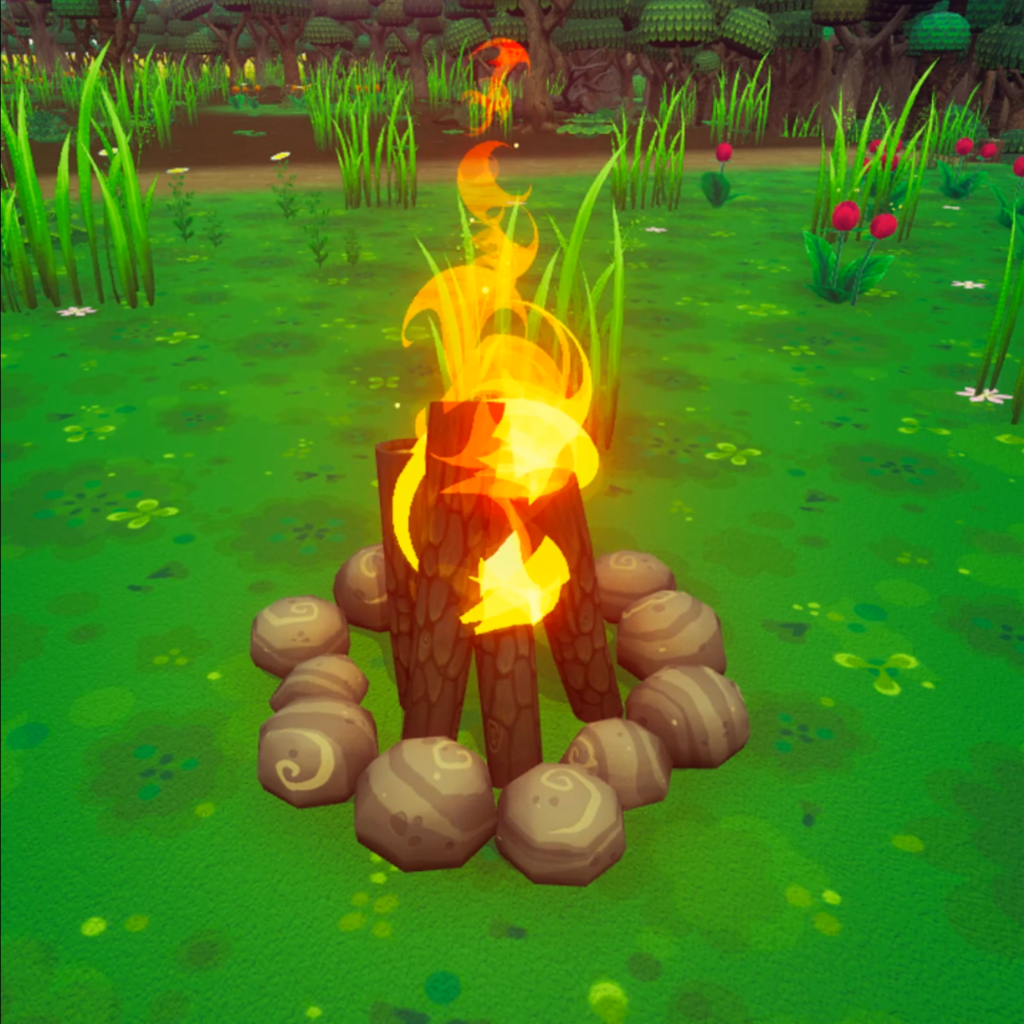
As I said, bonfires in games are a dime in a dozen. With the sheer amount of them it is difficult to stand out. Thus, I thought, this is the best place to start. If the bonfire works, I can model the rest after it. The fact that the bonfire is supposed to be part of the environment is also helpful. This way it was easy to see if the effects seemed out of place or not.
Trying things, repeatedly
As you can imagine, the first fire was very much out of place. It was not horrible; it just lacked a distinct style. It consisted of simple flares on round particles, modelled after a ‘stylized fire’ YouTube Tutorial from Split Hare Games. Everyone has to start somewhere, right?
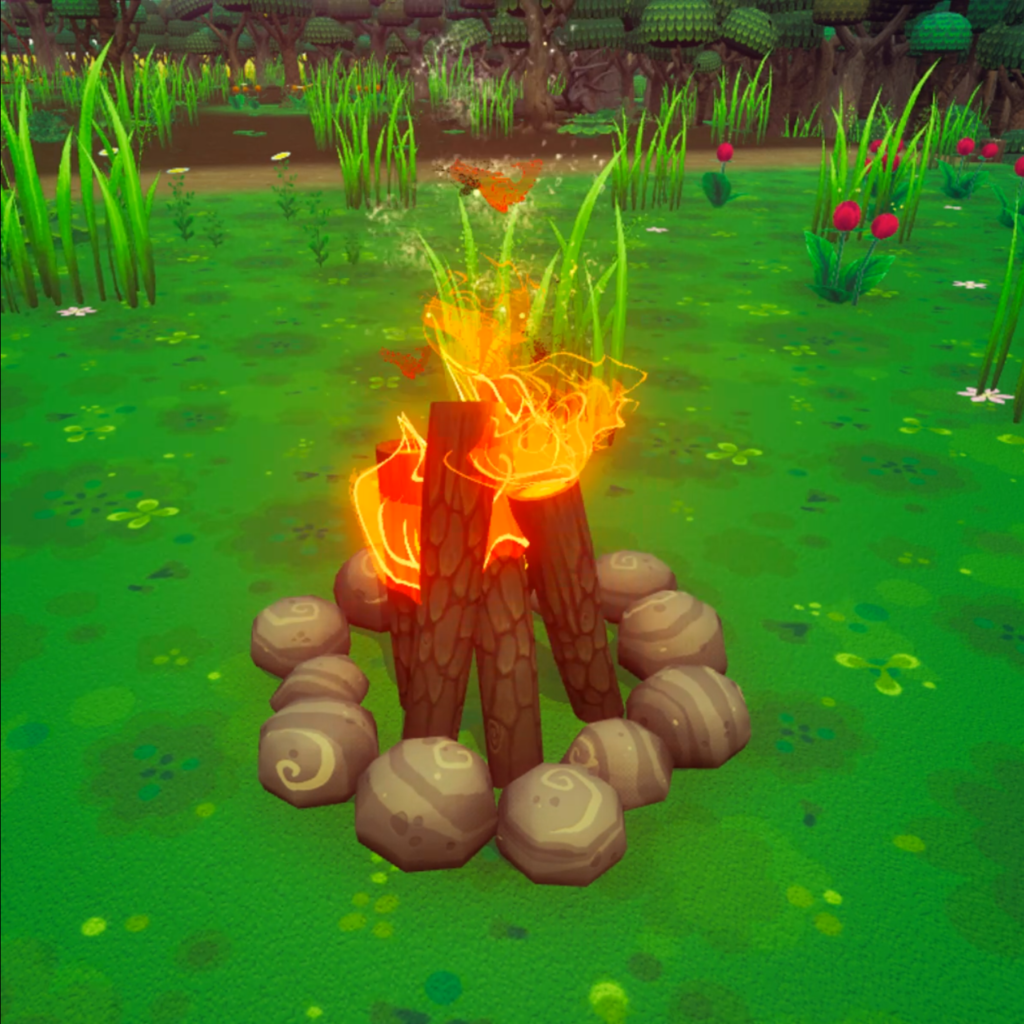
I then started looking more into games with a similar style. After a while I decided on using sprite sheets1 for the flames together with flow maps2 for the smoke.
Still, even that version was far from the final one. The first try rarely works, or even the second or third. Sometimes the finished product rests on an unseen cemetery of mistakes and ugliness.
So do not hesitate to start over. Just do not overdo it. At the end of the day, there has to be a final version.
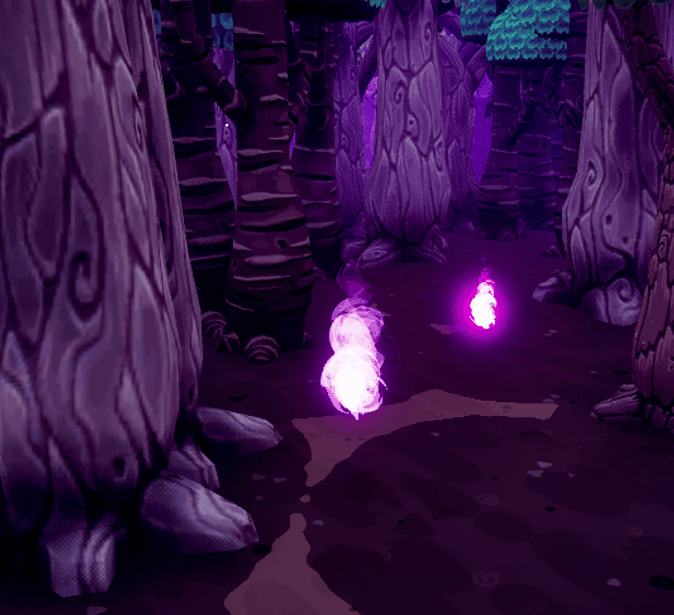
And who knows – maybe you can even reuse discarded parts for other purposes – just like how the first bonfire has been resurrected as a little will-o’-the-wisp.
Embracing insanity
Only making safe choices leads to boring outcomes. Changing a few parameters to unconventional values is quick and easy and might lead to interesting discoveries.
So why not just make that one parameter 666?
Well, the whole scene is glowing red now, that was probably a bad idea. Rest in flames, test map.
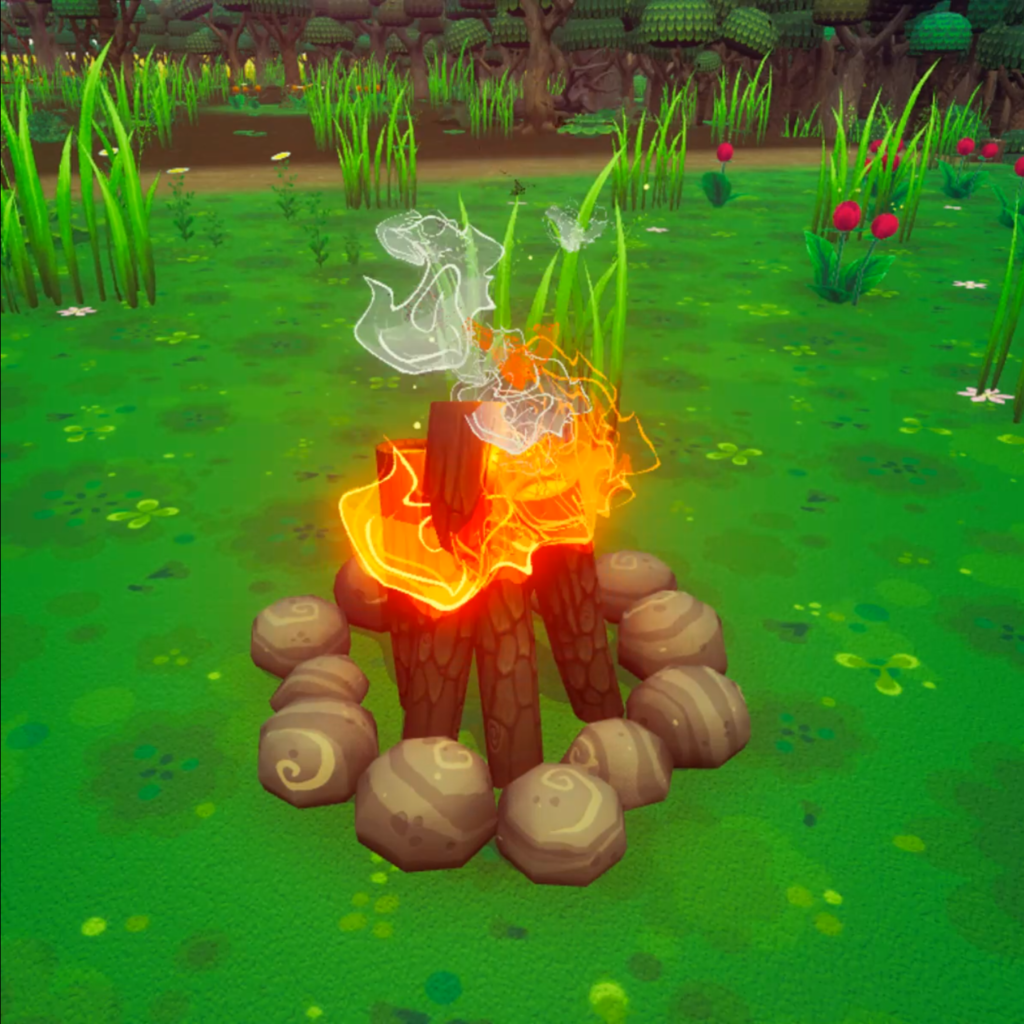
Then why not try out a blend mode that is certainly not the one the texture mask was made for? Sounds like a plan. This way I found out that a sprite sheet with a gradient looks rather interesting using the masked blending mode (where the opacity is always either 0 or 1) instead of additive (looks similar to translucent). It resulted in a pretty wild fire effect that dissolved in an interesting way. Together with forward shading3 and MSAA4, which makes it appear softer – not only 0 or 1 opacity – it creates quite the unique effect.

The special touch
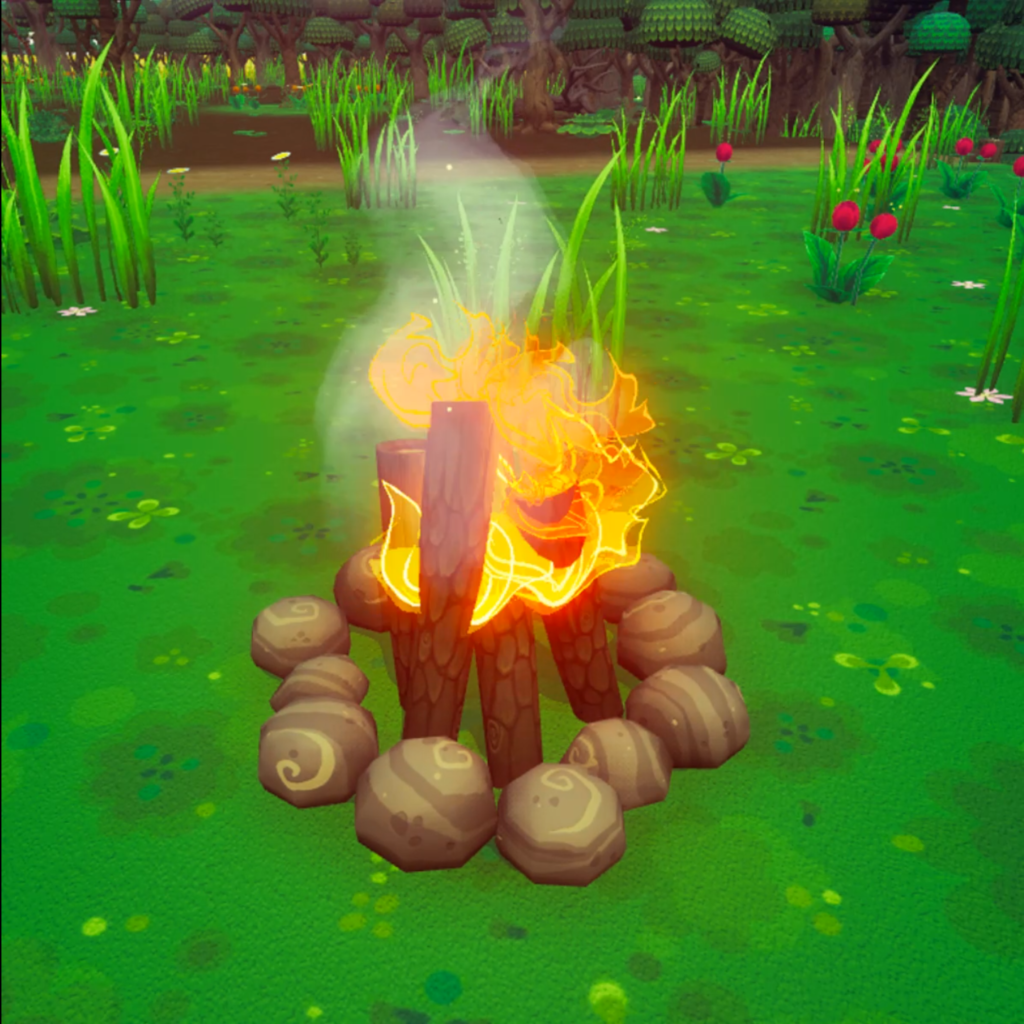
But even after all this, something was still missing. A tiny something. After contemplating for a while, I got an idea: How about I eliminate all ‘generic’ shapes? Those round embers really did lack character, and what better thing to replace them with than tiny suns? So, I did just that. And it was exactly what was missing – the icing on the cake bringing everything together.
Summary
- Don’t hesitate to start over – in moderation.
- Try out things even if they seem ridiculous at first.
- Tiny details shape character.
- A sprite sheet is a collection of sprites that form a 2D animation. (Go back)
- A flow map is a texture that stores directional information. (Go back)
- Forward shading is a rendering mode where “all work on dynamic lighting is done in the base pass, instead of a separate Lights pass”. (Go back)
- MSAA or Multi Sample Antialiasing is a type of antialiasing, a technique used to smooth edges. (More info) (Go back)